
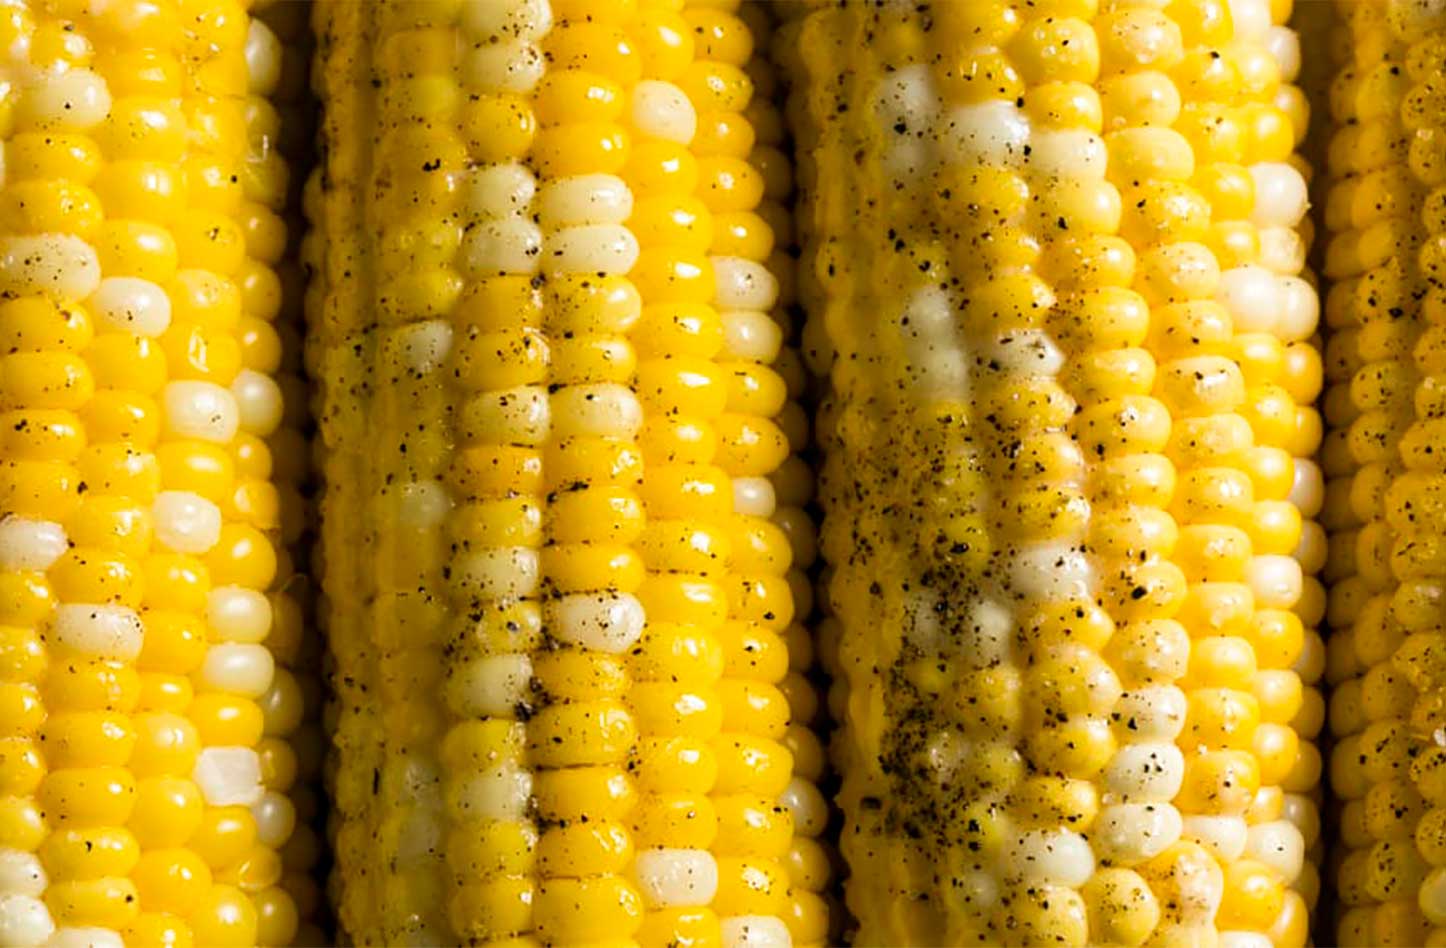
When the weather gets warm, grilled corn on the cob is basically mandatory. The sweetness and crunch that comes with amazing summer corn complemented by a bit of smokey char, what could be better? But before you can get to that first bite, you have to pick out the best possible ears of corn. Here’s what you need to know when you’re shopping.
How To Buy The Best Corn:
When buying corn on the cob, the easiest way to find the best ears is to peel back the husks a bit to peek at the kernels. However, you definitely can’t fully shuck 20 ears of corn at the grocery store when you plan to buy five. To find the best ears of corn, start by eye:
- Look for ears with tight green husks and golden brown, slightly sticky tassels (that’s the hairy bit up top). This indicates a fresher, sweeter, juicier corn.
- Avoid brownish crackly husks and dry or black tassels—this is usually a sign that the corn is going past its prime and has started to dry up a bit.
- Feel the ear for plump kernels, skipping those with holes where kernels didn’t grow.
But, of course, the only way to really know is to take some home and throw ‘em on the grill.
Husk Or No Husk?
If you want, you can grill corn with the husks still on: this will help trap some of the moisture and give you a half-steamed, half-grilled cooking process. But first, peel back the husk to expose the corn without detaching them completely and remove as much of the silk as you can. Season the corn with salt and pepper, plus a slick of butter or oil, then pull the husks back over the corn and plop them on the grill. This will protect the corn kernels from the hot iron grills and help them steam a bit while they’re grilling, making them even more tender.
On the other hand, if you want to go from grill to mouth as quickly as possible, go ahead and shuck the corn completely before throwing them on the heat. Brush on the butter and seasoning after they’re fully cooked to ensure the butter doesn’t just melt straight off into the grill.
Now you’re ready to dive in—pass the salt!


Leave A Comment